Building a Home Theater - Painting, Sound Absorption, HVAC
Completion of Taping and Mudding
Finally, the taping and mudding task was completed. It was certainly a large phase of the project, but very rewarding. As noticeable in the photo below, I chose to mud the speaker columns on both sides of the screen. I wasn't sure what I was going to do with them, but after some experimentation, I ended up adding a "hand-textured" surface to them with the final decision to paint them.
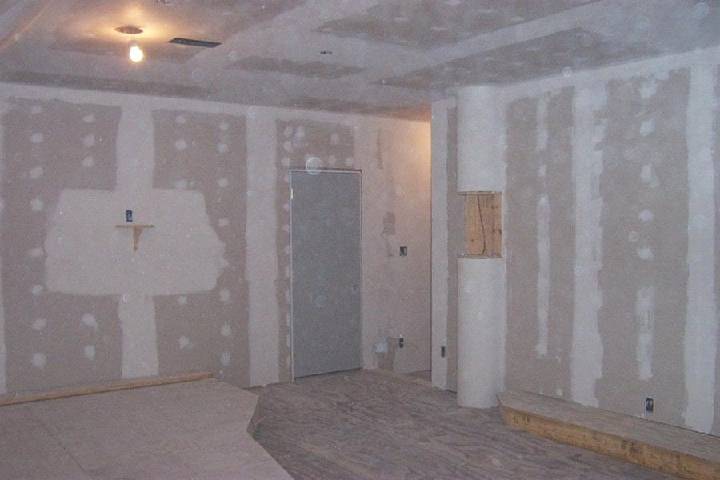 |
| Taping and Mudding Complete |
Priming and Painting
I sprayed the primer on the walls and ceiling and rolled the color on after that. I debated about texturing the walls and eventually ended up using the texture that you add to the paint. It comes in a bag and is basically like adding sand to the paint. You add it to the paint bucket before you start painting. After thoroughly mixing, you roll it on the walls as "textured" paint. In retrospect, I'm not sure I would go that route again. The texture looked pretty nice on the walls, but it seemed fragile. When people would brush up against the wall, the texture had a tendency to come off, leaving white speckles of primer showing beneath it. Perhaps it was incorrect application or maybe it's just the nature of the product.
I used black paint for the ceiling in order to cut down on light reflections. I used an eggshell sheen, but after using the theater, I realized I should have used a flatter sheen. Light from the movie screen reflected on the ceiling. Although most people probably didn't notice it, I was bothered by it.
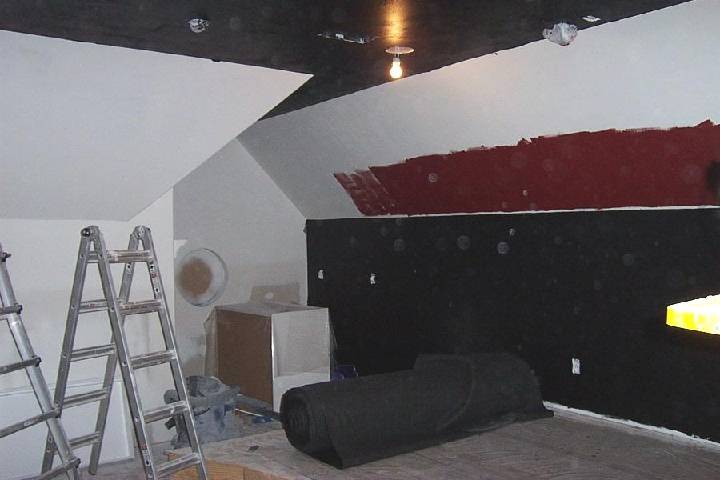 |
| Primer and Paint Goes on the Walls |
Sound Absorption
The entire screen wall and the bottom half of the side walls were covered with carpet. I used a black marine carpet (boat carpet) that I purchased at Lowes. It's soft and looks really nice. It has a rubber backing and it was easily glued to the drywall using a carpet adhesive.
You might be asking why one would want to install carpet on the walls? The idea is to absorb some of the sound reflections from the speakers so that the audio doesn't become muddied by echos. You have to be careful that you don't use an excessive amount of sound absorption material or the room will become "dead" as all the sound is absorbed by the walls. In a "dead" room, the audio will no longer sound warm and inviting, but instead sound unpleasant and unnatural.
High-end home theaters often build or use acoustic walls panels that are designed to absorb sound. These wall panels or sections have some type of sound absorption material in them and they are then covered with a special acoustical fabric that looks pretty and allows the sound to pass through it to the sound absorption material.
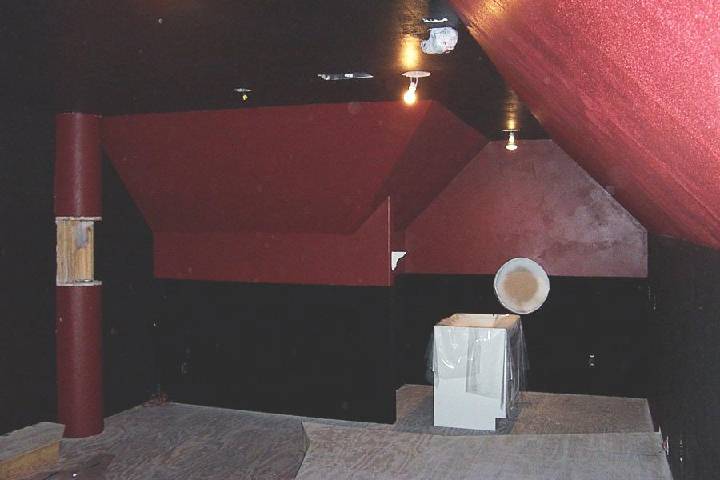 |
| Carpet on Walls for Noise Reduction |
Heating and Air Conditioning (HVAC))
I checked with our HVAC guy and he verified that one of our AC/furnace units had plenty of capacity to handle the home theater room. I purchased an automated duct damper that would allow me to open/close the room as needed so we wouldn't have to heat or cool the room when it wasn't being used. (note to self: candy bars in the snack machine melt when it gets too warm.)
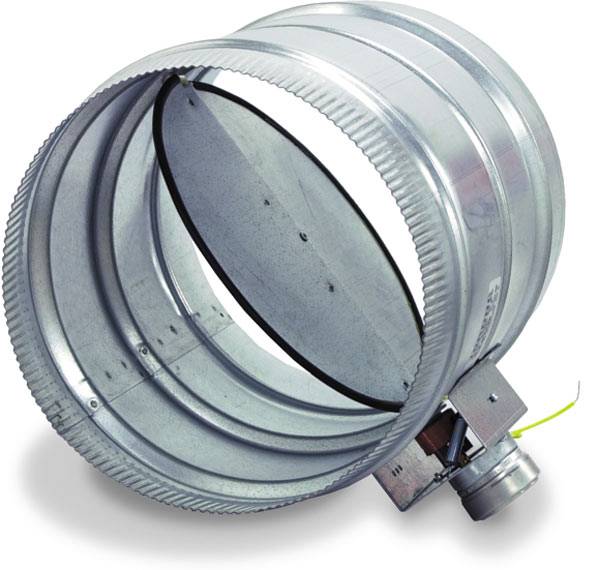 |
| Duct Damper |
Below is the plenum box on the furnace unit where all the ducts for the upstairs rooms originate. I cut a whole in the top of the plenum box and put a collar in so I could add the ducting for the home theater. Visible is the electric damper valve. It's a really cool unit. It's hooked to a normal light switch down in the home theater. When the switch is turned on, the duct vent damper opens and allows warm or cool air (whichever is appropriate) into the home theater. When the switch is off, no air flows into the home theater at all. This allows us to "shut off" heating or cooling the home theater (to save money)when it's not in use without us having to manually open and close the vents on the ceiling. The pink insulation is just some extra insulation I wrapped around the duct damper to help insulate it a little more.
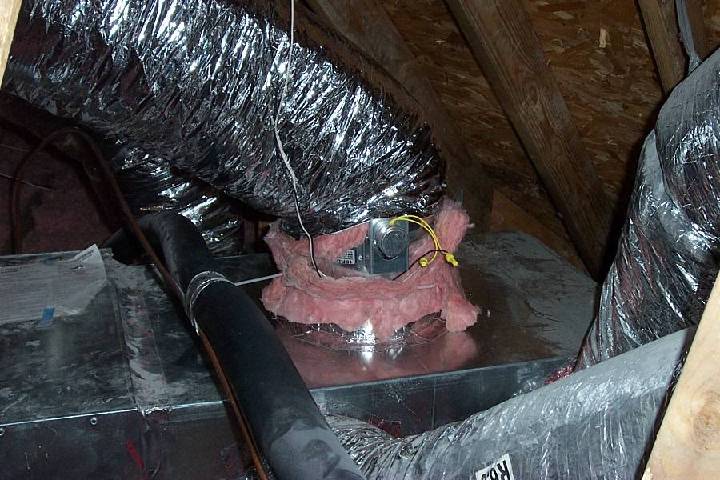 |
| Duct Damper Installed in Plenum Box |
Shown in the photo below is the ducting that runs to the two vents in the ceiling of the home theater. You can also see all the wires for the telephone, data, alarm that drop down through the left speaker column in the home theater and into the smart panel that is located behind the speaker column.
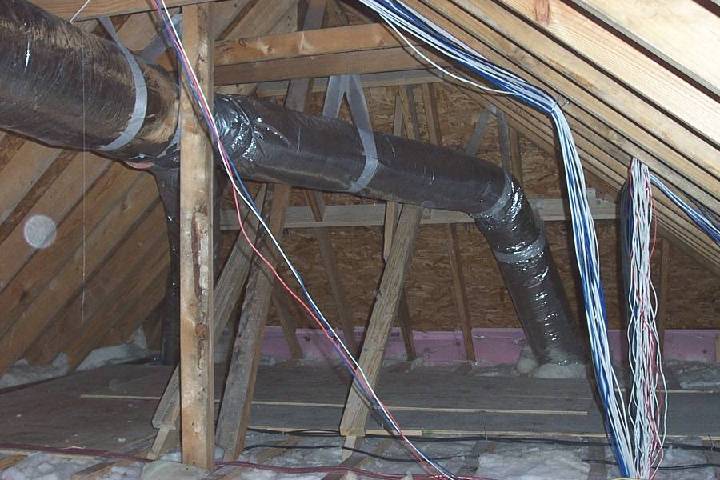 |
| Ducting in Attic for Home Theater Room |
When designing your theater room, you have to keep in mind that cramming a lot of people and electronic gear into a smaller room is going to generate a fair amount of heat. I used as much insulation as I could possibly squeeze into the floor, walls and ceiling. Luckily, the room maintains temperature fairly well with the help of the HVAC system.