Building a Home Theater - Framing
The Idea of Constructing a Home Theater...
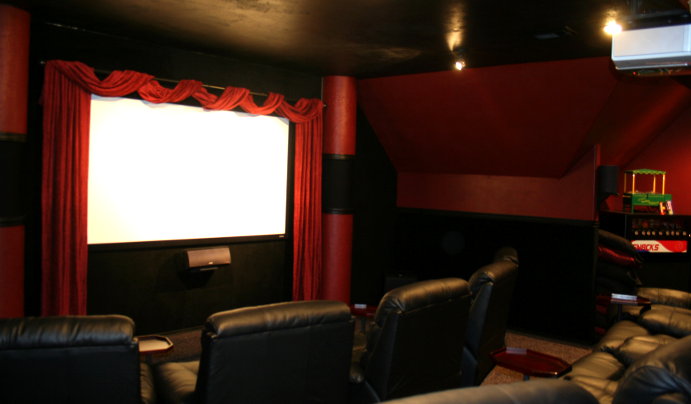 |
| Finished Home Theater |
When we were looking to buy a new house, it was with the intention of building a really nice custom dedicated home theater. We were fortunate to find a home we really liked that had a rather large "Texas Attic". Although the room wasn't exactly the layout that we were looking for, it was close enough to make the grade.
The build started in the attic space above the garage. Although it was a large area, it had a few challenges that required thought. The rafters met a half-wall on one side of the room, limiting ceiling height. Because the roof was hand-built (no trusses), the roof in this area was supported by purlins and purlin supports. These supports were right in the middle of the floor and made the room useless without their removal. Finally, the odd shape of the room made the orientation of the seats and "screen wall" a difficult decision.
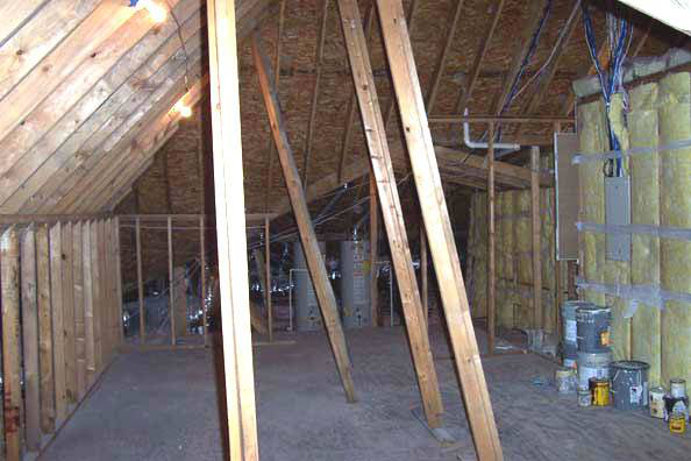 |
| Attic - The Starting Place |
Framing the Home Theater and Building the Riser Platform
I started by building a very strong set of supports and braces anchored to the existing house structure to hold the roof up so the purlin supports could be removed. Unfortunately, there was one purlin support in the "snack area" that held up a ridge beam. There was no way to support it without a post from the middle of the floor. My dad suggested that it might be possible to remove this post and build a steel brace that spanned across the ridge beam, thus supporting it. I was able to cut and weld some steel square tubing together to do just that. After putting it in place, I was able to do pull-ups on it without it deflecting at all. I believe the roof is stronger now than it was originally.
The next step was to create a ceiling for the room. This was accomplished by using I-joists. The joists sat on the top of a bedroom wall on one end and connected into the roof rafters, via custom mounts, on the other end.
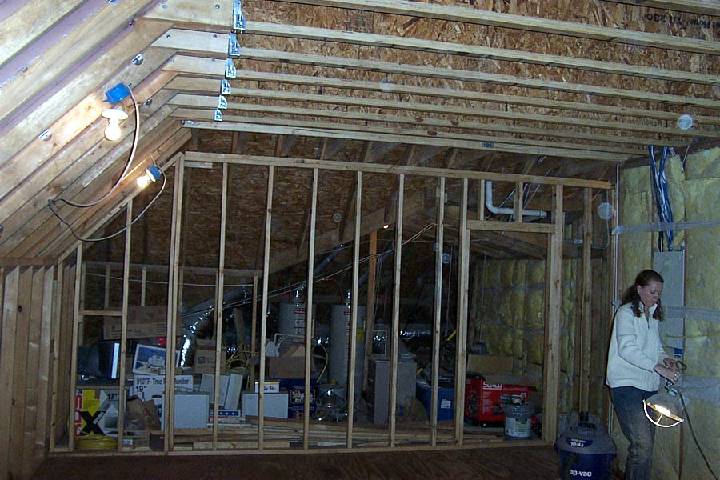 |
| I-joists custom mounted to rafters |
When the floor was cleared, it was time to build the platform for the second row of seats. This was a bit more complicated than it initially seemed. The platform had to be high enough that the guests could see over the people in the front row and still be somewhat vertically centered on the movie screen. In addition, I didn't want the people in the front row too close to the screen, nor the people in the back row too far away. To help me figure all of this out, I used a couple of handy online calculators:
Seating Distance Calculator
Riser Height Calculator
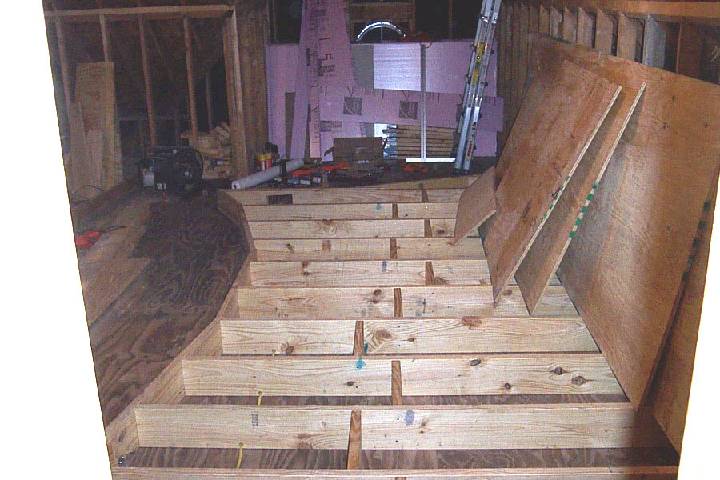 |
| Second row riser |
After framing the riser platform, I ran electrical through it for the step illumination fixtures. The step fixtures are helpful to those who may need to leave their seat and then return during the movie (snack refill or restroom break?). I then filled riser bays with insulation to help eliminate vibration and echos. The final task was to put the decking on the top.