Building Efficient Walls
Building Efficient Walls in our New House
While planning our new house project, one of my top goals was to build the house to be as energy efficient as possible. A small initial investment in efficiency could save many, many thousands of dollars over the ten or twenty years we spend living in the house.
One of my top priorities was to build efficient walls. I feel this is an area that has lots of room for improvement over traditional framing practices.
After much research, I decided that I wanted to build thicker-than-normal walls in order to increase the R-value. I also felt it was important to address the thermal bridging issue.
Thermal Bridging in Walls
What is thermal bridging you ask? In a traditionally framed house, a wall is usually built with 2x4 or 2x6 studs. The exterior side of the studs/wall are covered with the house siding and the interior side of the studs/wall is covered with drywall. Unfortunately, because the studs are in contact with the outside wall and the inside wall, the studs act as a conductive bridge and carry heat or cold from the outside to the inside of the house. Some reports suggest that as much as 30% of heat loss may be attributable to thermal bridging.
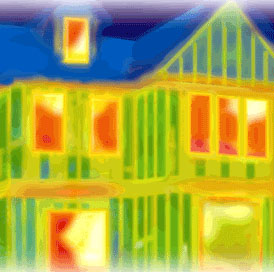 |
| FLIR image depicting heat loss from thermal bridging |
The Research - Efficient Wall Framing
There are multiple ways to build efficient walls. Some options include staggered stud walls, double walls and traditional framed walls with rigid foam on the exterior. I felt that double walls (essentially two separate 2x4 walls with an air space gap between them) would be the most efficient and cost effective.
The Plan - Everything is a compromise
Although I felt double walls would be the most efficient, I also knew that it would take quite a bit more time to, essentially, build twice as many exterior walls. Our contractor was not too excited about the thought of the extra work. I decided that the best solution would be to use a common top and bottom plate. This would give us double walls except for the plate areas. I would virtually get double walls and the contractor would only have to build a single wall. I felt the thermal bridging at the plates (top and bottom) wouldn't be significant compared to the rest of the wall.
Because I wanted thicker than normal walls, I chose to use 2x10s for the plates. My plan was to have 2x10 top and bottom plates and two parallel 2x4 walls on those plates. The builder felt slightly uncomfortable using a 2x4 for the exterior wall (due to strength concerns). Luckily, lumber prices dropped slightly and 2x6 studs were substituted for the exterior side of the walls.
The Result
Because the builder preferred to use 2x6 studs for the exterior of the wall, it wasn't possible to align the exterior 2x6 and the interior 2x4 with each other or they would touch (a 2x10 is really only 9.25 inches and that wouldn't leave much of a gap between the interior and exterior studs), defeating the goal of avoiding thermal bridging. Building a staggered stud wall would work fine, but there is extra labor in measuring to evenly space the interior and exterior studs. We ended up with a hybrid wall. It's a double wall, but the interior and exterior studs are not aligned. The interior studs are about an inch to the side of the 2x6 exterior studs. It's essentially a staggered stud wall, but the stagger is only about an inch instead of half-way. I think it worked out fine and it allowed the framer to quickly build the walls without having to do extra measuring. He simply measured and marked it as if it was a 2x6 wall and then added an extra interior stud on the interior side of the plate by offsetting it an inch (no measuring needed).
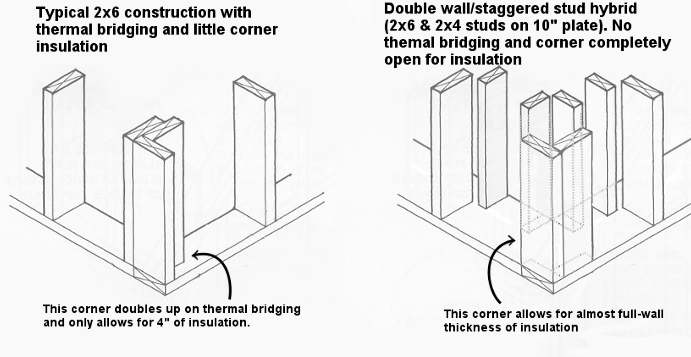
One of the real benefits of having a thicker wall and a double wall hybrid is that the corners have ample space for insulation. Traditional framing leaves very little space in the corners for insulation.
 |
Windows were framed using aligned interior and exterior studs. There was a small gap between them and we filled that gap with spray foam to air seal them as well as avoid a thermal bridge.
The Insulation and Windows
For multiple reasons, I chose to use dense-pack cellulose for the insulation. With an R-value of 3.4 per inch, we ended up with walls that had an R-value of around 31. Of course, a wall of windows can easily defeat a well-insulated wall. We installed triple-pane windows with a U-factor of 0.21 or better (many were U-factor 0.18)
Money Talks
Now that we're living in the house, we've been able to compare utility bills to our previous house. This house is almost twice as big as our last house (which used traditional 2x6 walls and fiberglass insulation) and our utility expenses appear to be half as much. Not a bad outcome.
Photos of the Construction Process
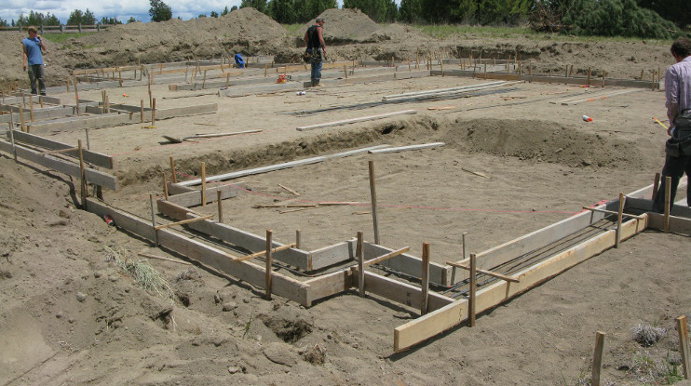 |
| The foundation is starting to take shape |
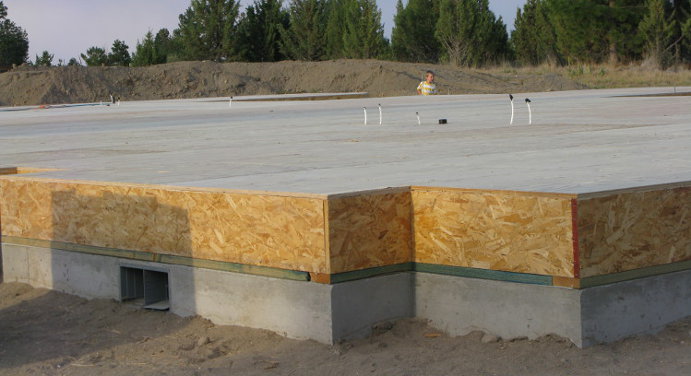 |
| The floor decking is complete |
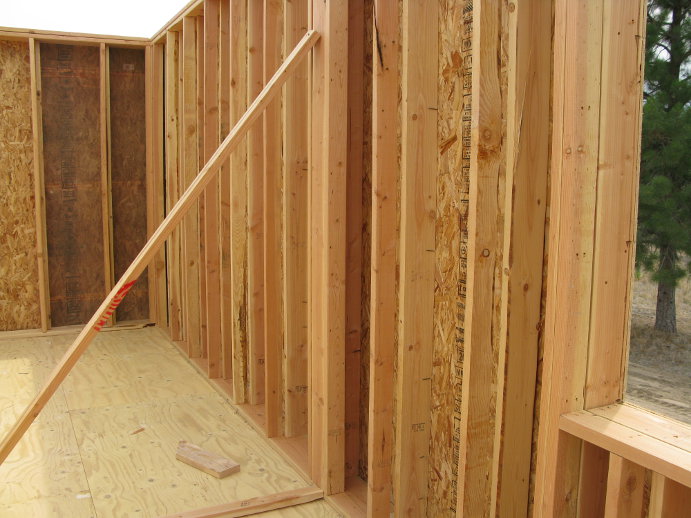 |
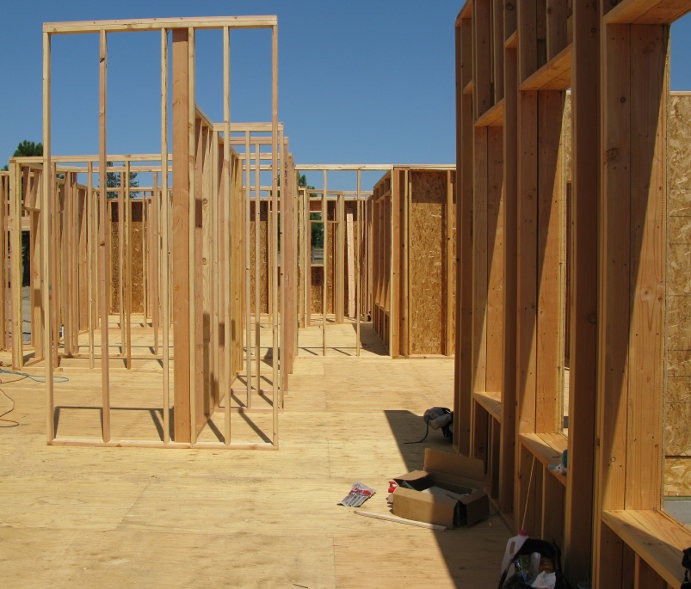
| Custom framing using double wall/staggered stud hybrid |
 |
| Double wall window framing |
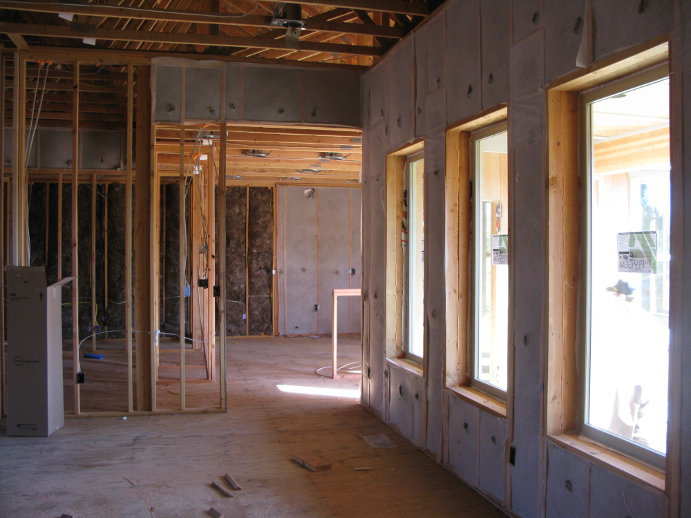 |
| Dense-pack cellulose packed in the walls |
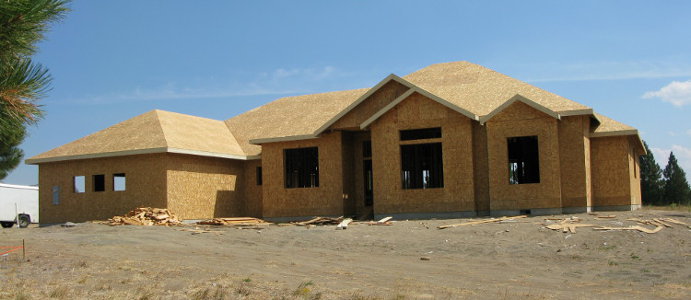 |
| Wall and roof sheathing completed |
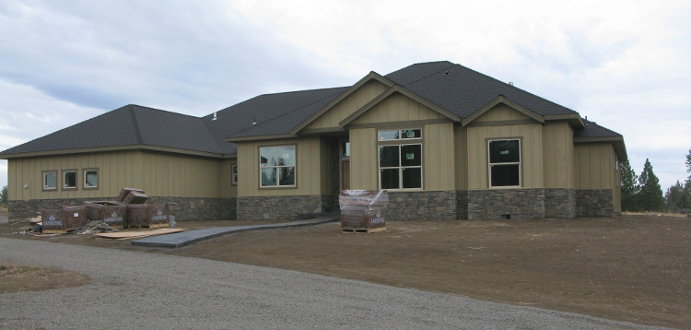 |
| The house is nearly complete |