LCD MAME Cabinet - Glass Mount, Speaker Grill, Coin Door
 |
| Glass Mount |
The Glass Mount
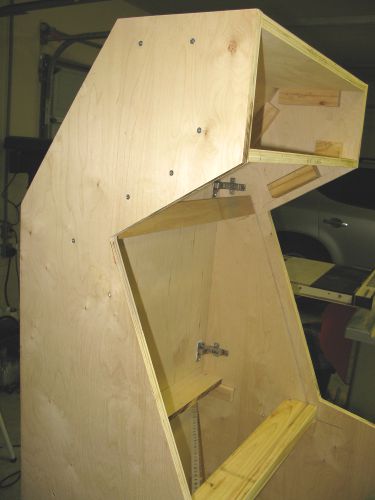
I debated for quite some time trying to figure out the best way to mount the glass and also the dimensions I would need for the glass. To help, I cut out a piece of cardboard that was the same size as the controller top. I placed this into position on the cabinet so I would have some idea of where the glass would mount and how much of the glass should be exposed.
I chose to have the glass sheet set back into the cabinet about an inch (rather than have it flush with the front of the cabinet). Once I determined the setback, I drew a line on both inside walls of the cabinet to represent where the glass would sit. I determined that I could create the bottom mount below where the controller would mount (i.e. the controller would hide the mount) and the top mount would extend up beyond the speaker mount board.
I puzzled over how to create a glass mount on the bottom that would be strong and hold the glass at the correct angle. I ended up measuring the angle that the glass would sit at (relative to straight up) and then used my table saw to cut a slot lengthwise in a 2x4. I mounted the 2x4 in place between the cabinet sides and then mounted a small flat board at the top. The glass rests against this flat board at the top and I use standard glass/mirror hangars to hold it in place. Once the mounts were finished, I cut out a piece of cardboard that would represent the glass. Once I had it correctly sized (remembering to leave a small amount of gap on the sides so the glass wouldn't be too hard to install or become pinched if the cabinet shifted), I went to my local glass shop and had them order me a piece of tempered glass to size.
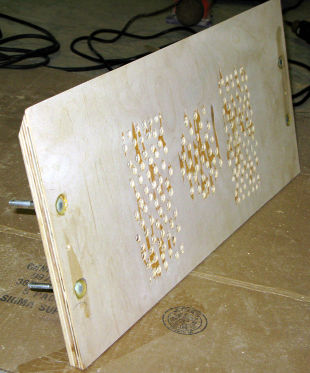
The Speaker Grill
Once the glass was mounted in place, I started working on the speaker grill. The speaker grill/board fits right up against the top
 |
| Speaker Grill |
 |
| MAME Cabinet Coin Door |
The Front (Coin) Door
To add some realism to the cabinet, I decided to install a fake coin door from Suzo Happ. on the front cabinet door. They do sell real coin doors with a real mechanism, but I wasn't interested in creating that much realism (or spending the extra money for it).